English
 Arabic
 Danish
 Dutch
Dutch
 Finnish
 French
 German
 Hebrew
 Italian
 Japanese
 Norwegian
 Polish
 Portuguese
 Spanish
 Swedish
 Russian
How to Fix Clone Stamp Tool Not Working
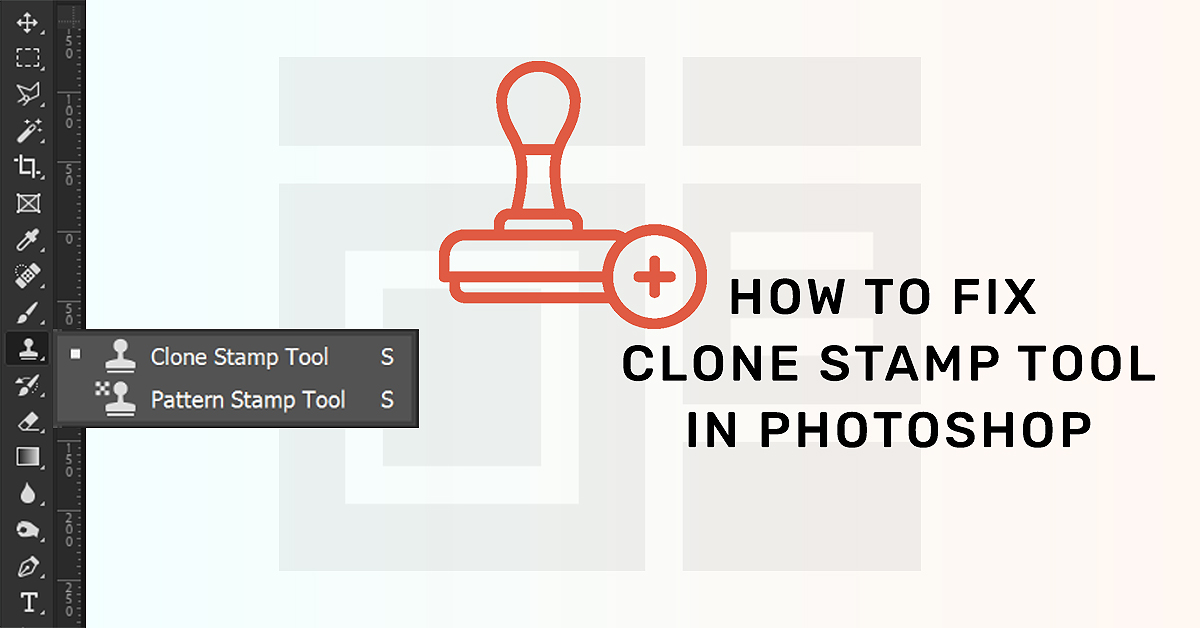
Having a hard time with clone stamp tool not working? Then you must have selected the wrong layer. It might happen when you select the layer you want to clone to. Weather You have to choose the layer you want to clone from. Sometimes, you might need to reset. Let's see how to resolve it in detail.
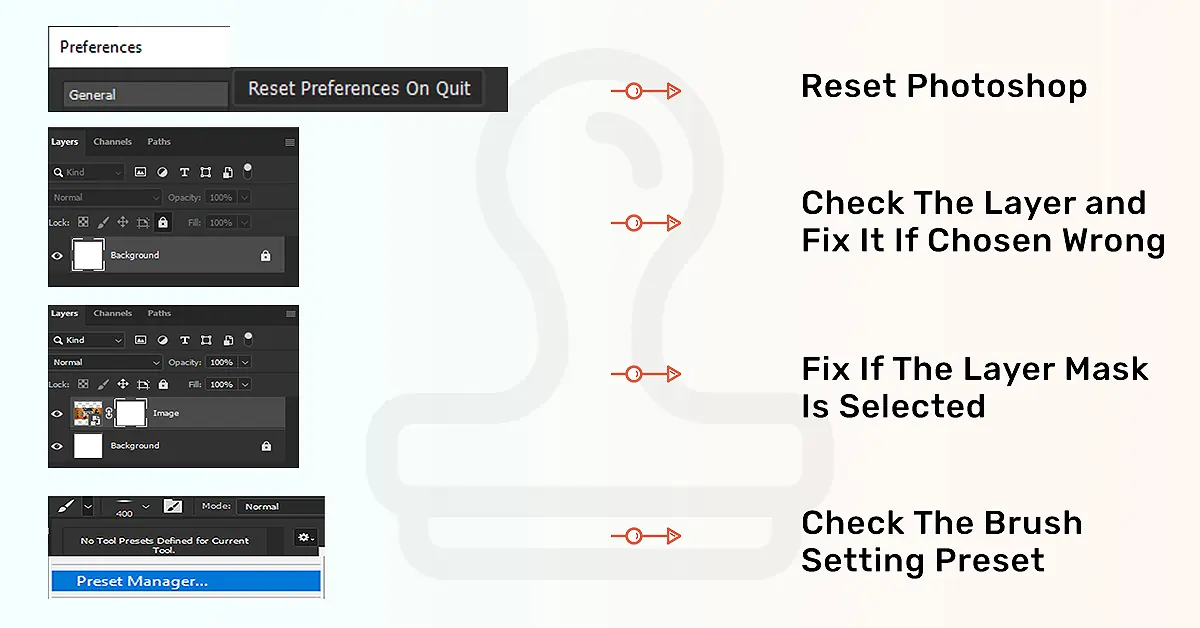
Clone Stamp Tool Not Working Quick Solution - Reset the tool
Why won't clone stamp work in photoshop? There could be various reasons behind your clone stamp tool not working. Apart from choosing the wrong layer, a customized setting of the Photoshop clone tool can cause this mishap. Here is how to reset it fast.
- At first, you need to activate that tool by pressing “S”
- Secondly, click on the icon of Clone Stamp that is in the upper setting bar
- Now on the right of this panel, you will see the Reset Tool with a gear icon
- Your Clone Stamp Tool is reset now to the default setting
Check Out the Layer
What layer are you working on? Is it a hidden layer? Transparent layer or layer mask? Your stamp tool will not work if you are working with the wrong one. If you have chosen the wrong layer in the layer panel the adjustments will be sampling the wrong parts. Confirm that your target layer is not hidden. To make the layer visible, go to the layers panel, and on the left side find the eye icon; you will see an empty box if it is hidden, ticking on the empty box will make the layer visible.
Make sure that you are selecting the layer from the layer panel to make adjustments in images. Another trick to try while your stamp tool stops working is to select the layer you want to clone and press Alt/Option and boom! Your stamp tool is back to life.
Note: Your recently updated photoshop version may cause the stamp tool not working. Reverting to the previous version may solve the case.
Be Attentive to the Sample Setting
Your sample setting can be another reason to prevent your clone stamp tool from working properly. You constantly change the sample setting while working. If you miss being attentive while changing the setting, there might be a chance your clone stamp stop working.
While doing photo editing in the Photoshop clone tool, you will have three layer settings: Current layer, current & below, and all layers. Suppose you are going to work on a new transparent layer. And you intend to do that above another image layer. if you keep the sample setting to the "current layer" your tool will not work. So, to avoid this, you need to switch or set the sample setting to the "current & below" layer. And once you are done with this one and started working on another, change the setting accordingly. Otherwise, your tool will not respond as you wish.
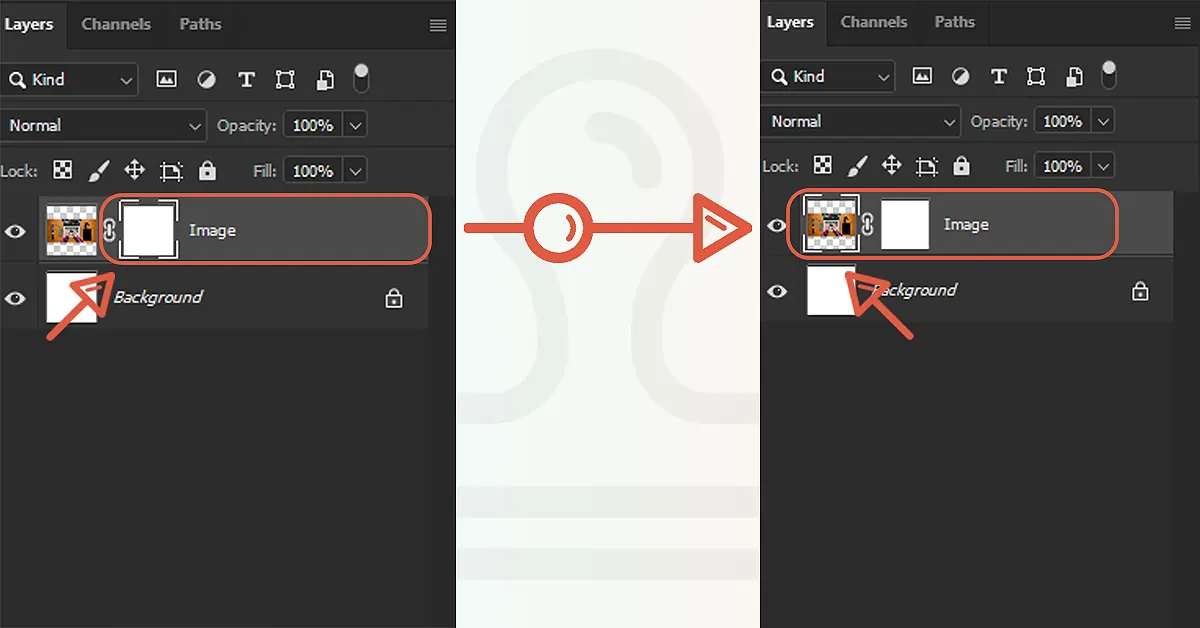
Have You Selected the Layer Mask?
Sometimes you inattentively or unknowingly select the layer mask. Selecting the layer mask is a reason why your clone stamp does not work where it is supposed to work. When such a thing happens, you can see the white box around the layer mask where the changes are being adjusted. But you need to do the adjustment in the image. So once you figure out that you have mistakenly selected the layer mask, no worries, you can fix it.
To resolve this problem in the Photoshop clone stamp tool, we will click on the image layer thumbnail. That will make the white boxes move off of the layer mask and to the layer thumbnail.
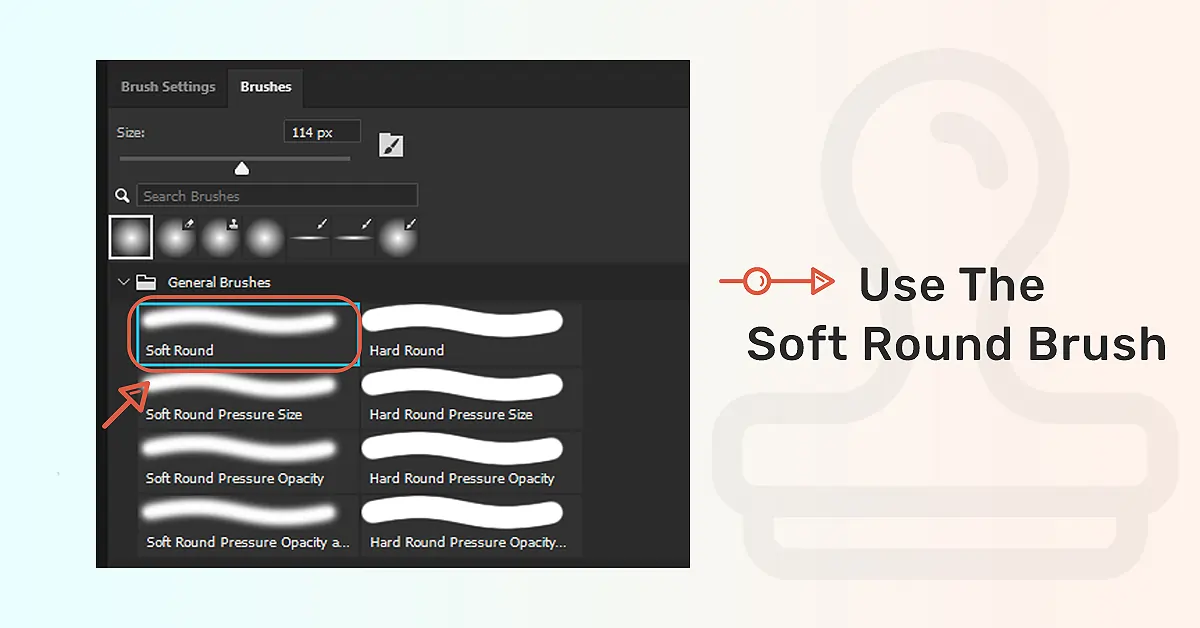
Check the Brush Setting; You Might Have Chosen the Wrong One
Choosing the wrong brush could be another reason for your stamp tool mishap. You might have chosen a brush tip with a lot of spacing. And that brush preset doesn’t go with the stamp tool adjustment. So it will look like the clone stamp is not working.
Instead of a bigger brush use a round brush preset that has a softer pigmentation. How to get this brush? Press “S” go to the upper setting bar and then go for the brush preset options. Select the soft round brush in the brush preset panel up.
How to Fix the Photoshop Clone Stamp Not Showing the Preview
If your Photoshop clone preview is not showing, you might have to look at the clone Source setting. Let’s see how to deal with this problem.
Go to Clone Stamp>Window>Clone Source, you will find the Show Overlay. Keep the blending mode Normal, keep it “Clipped” in the right side menu. Don’t forget to uncheck the Invert and Auto Hide.
How to Use Clone Stamp in Photoshop
To remove and replace any particular area from an image you can use this clone stamp tool. Especially in beauty retouching and headshot retouching you love to use this tool. Wherever you want to use it, let’s see how to operate the clone tool.
1. Open the image in photoshop
In your adobe photoshop, start by opening the image you want to clone. Remember to keep the mode “Normal” always.
2. Sample the Image
To sample the image select it and press the Alt key on windows and the option key for Mac to bring the crosshairs. With your cursor click the area of your sample point to touch up with the brush.
3. Clone
Once the sample point is ready, adjust your brushes, mode, and opacity. Now retouch the area as you need to clone it. Adjust in the sample menu for better retouching.
Conclusion
My concern is to make it easy for you to understand the process of fixing the photoshop clone tool. How did you find this read to solve your Clone Stamp Tool Not Working?