English
 Arabic
 Danish
 Dutch
Dutch
 Finnish
 French
 German
 Hebrew
 Italian
 Japanese
 Norwegian
 Polish
 Portuguese
 Spanish
 Swedish
 Russian
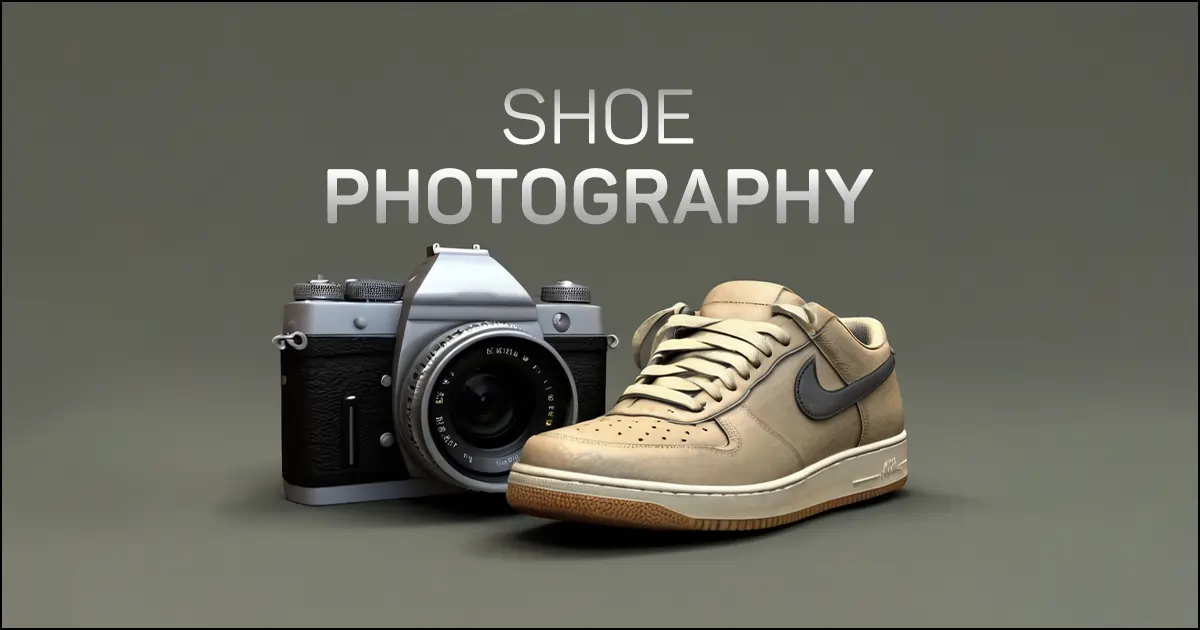
How to Take Pictures of Shoes - DIY Tutorial
The era is rapidly changing. Customers are purchasing shoes online more and more. Thus, to create a great first impression, you need to take high-quality stunning shoe images. Remember, J.K Rowling said, "First impressions can work wonders." A good shoe photo can increase your brand popularity, traffic, and revenue like crazy.
So, if you are new to shoe photography and want to learn the tips and tricks of how to take pictures of shoes, continue reading the article and I will show you how to take detail shots of shoes.
What You Need to Photograph Shoes
Shoe photography falls under product photography. However, the equipment set, preparing shoes, photography lighting, angles, camera, and lens are used differently. First, let’s see what equipment you need to take flawless shoe images.
Natural Light or Artificial Light
You may photograph shoes using both natural light and artificial light.
If you use natural light, take it beside a well-lit window or outdoors. Avoid strong light, take images when the light is not at its brightest, and use reflectors to reduce harsh shadows on the shoes.
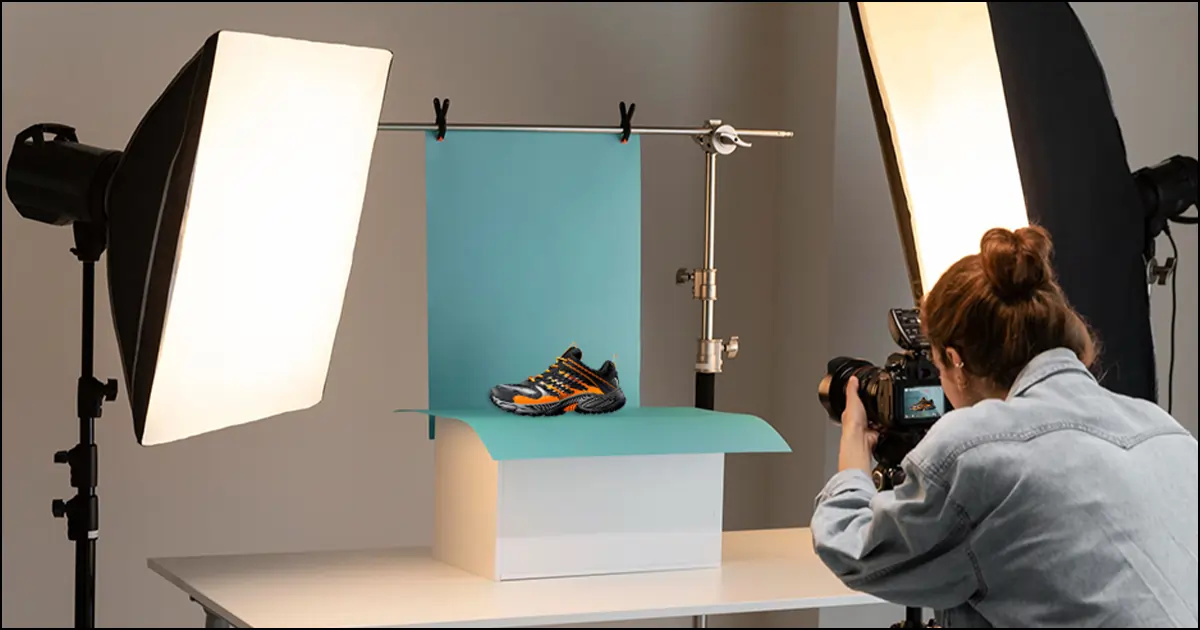
However, if you want to take shoe pictures anytime day or night, invest in a softbox. You can buy a softbox with light and reflectors or you can make a softbox with a large box. Cut the large box from two sides to place two light boxes and create a white background or other color background by setting different colored paper inside the box. You can easily purchase large boxes from dollar stores at a cheap price.

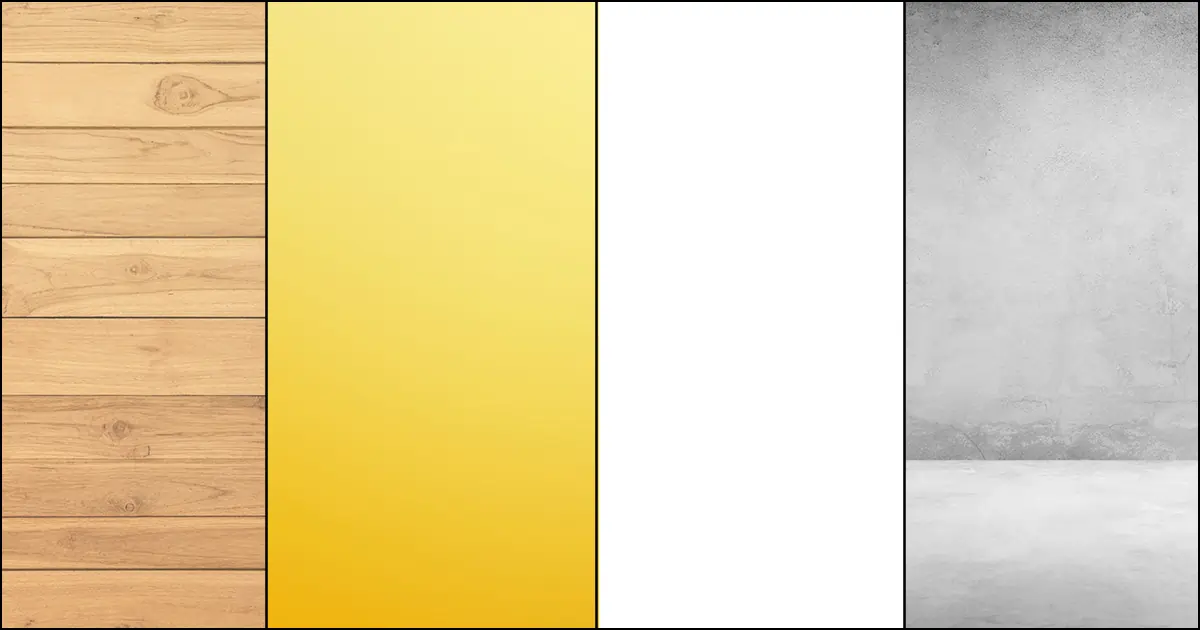
Simple Background
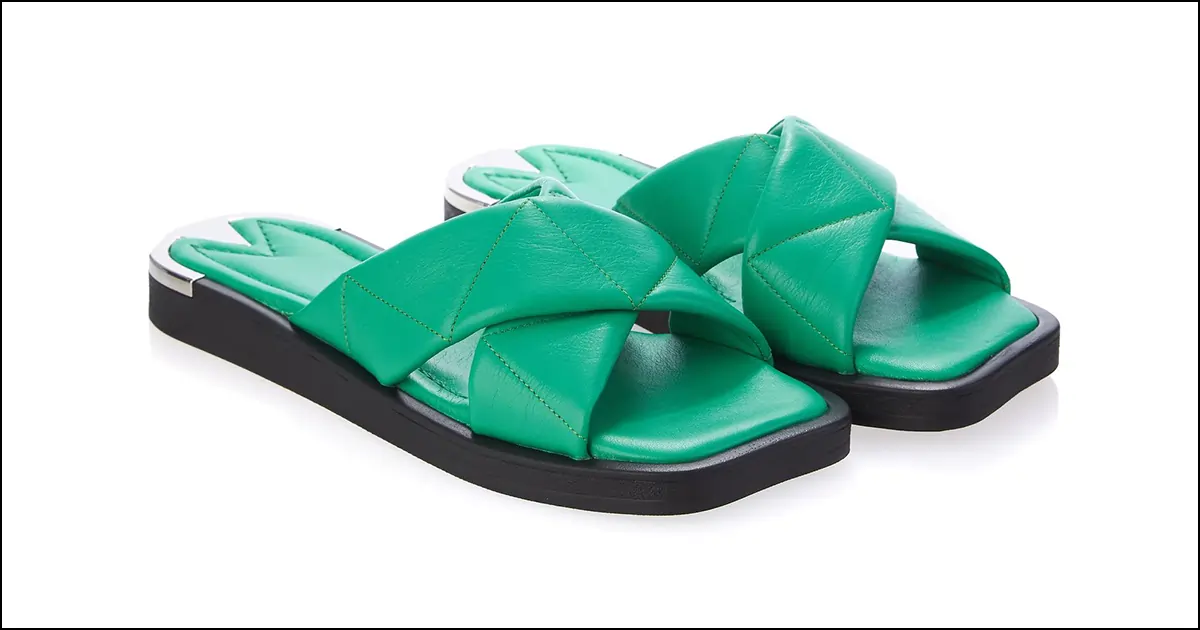
You need to choose a clean and clear background to make your shoes shine. The shoes need to stay in focus. So, use a white background or a different-colored background that compliments your shoes. For example, lighter ash and darker ash or yellow and green. Ensure the background is not busy or noisy. Keep props to a minimum or none.
However, you can go all the way with lifestyle footwear photography. You can choose a location and setting that will help you highlight your product. I will tell you about lifestyle shoe photography in detail in the later section.
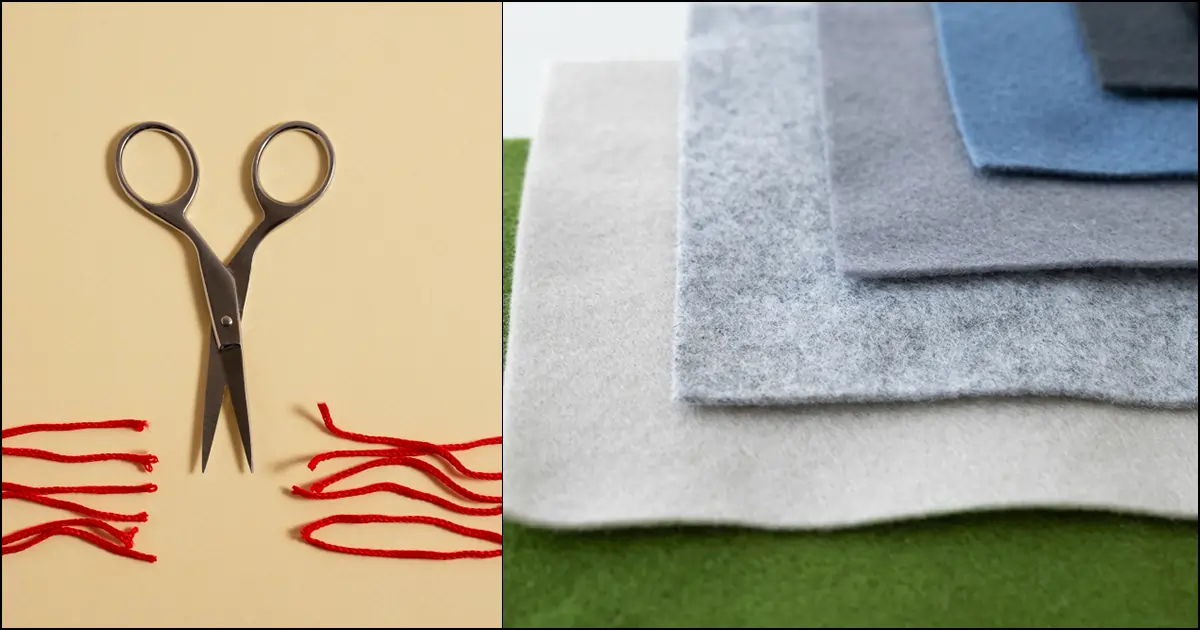
Brush or cloth
You need a microfiber shoe cloth, normal cloth, or brush to clean the shoes before the shoe product photography. I recommend using a shoe microfiber cloth to not damage the shoe fabric. However, you also can use a brush or any normal cloth to clean the shoes.
Keep swizzers to remove any loose threads on the shoe. Cleaning it and cutting loose threads beforehand will save you time from removing dust and dirt in post-production photography.
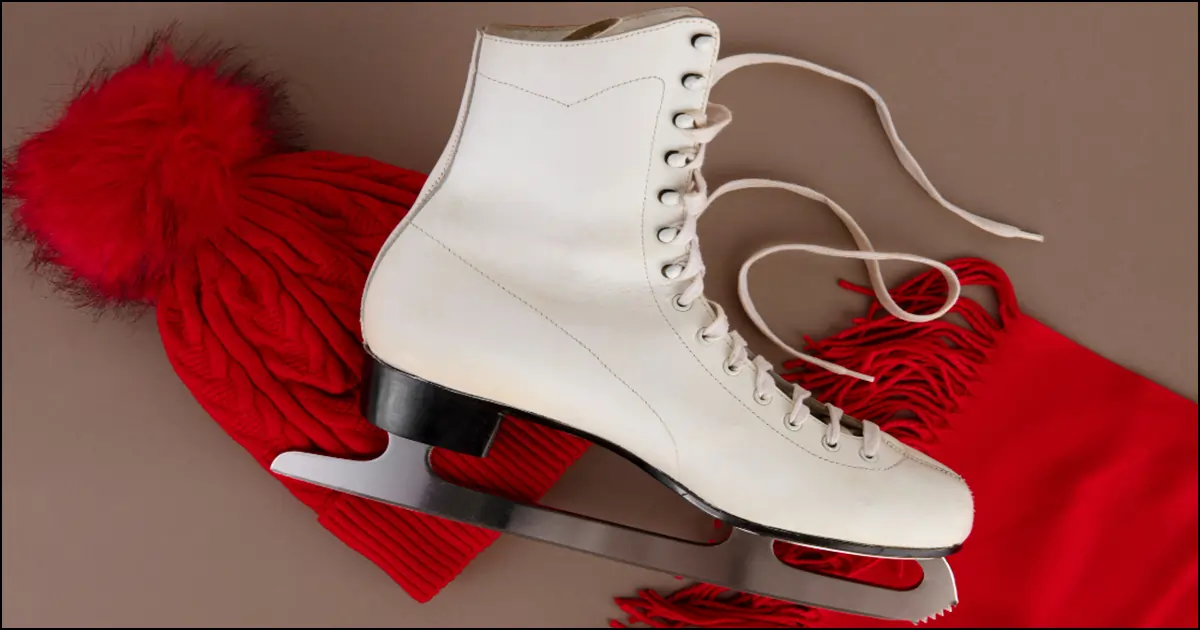
Relevant Props
Can you use props for shoe photography? Of course. The competition is getting higher online. The more creative and stunning shoe images you provide to your ideal customers the more sales you can make.
However, while using any props, you need to ensure they complement the shoes, keep the shoes in focus, and highlight their purpose. For example, using a winter scarf and hat to complement the ice skates.
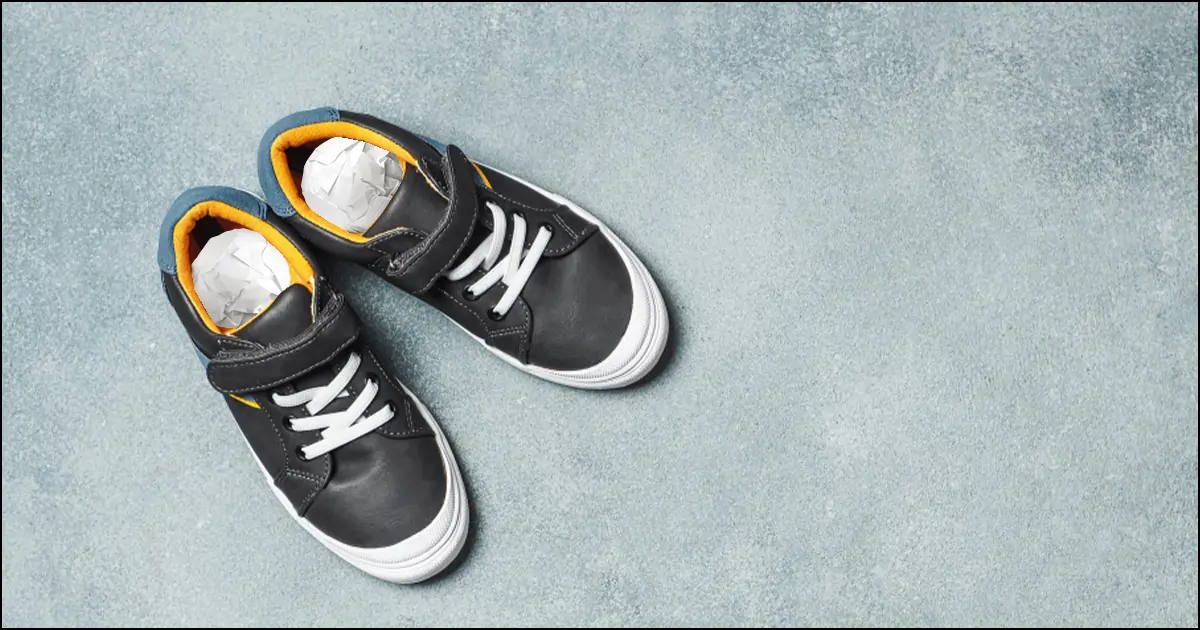
Crumbled Papers, Tissue, or Fishing Wire
Use crumbled paper or tissue to stuff in your shoes. These ensure your shoes are not looking limb or flat. At the same time, it creates an illusion that someone is wearing the shoes, creating more chances of increasing purchases.
If you want to float your shoes in the air, use fishing wires to hold them up. It is cheap and harmless to use. You can easily remove it with basic photo editing and provide a unique look to your shoes.
Model & Ghost Mannequin
Other than tissue or fishing wire, you can use a model or ghost mannequin to take footwear images. It will provide them with a real-life view of how the shoe would look on the customers and in which situations they can wear the shoes.
Camera, Lens, and Tripod
You need to choose a good DSLR camera and lens wisely to take high-quality footwear photos—especially the lens. You can use a 50mm or above lens to ensure distortion-free images and keep the focus on the camera.
A tripod is not mandatory, however, it can help you take clear and firm shoe pictures. Not only will it stabilize your camera but also ensure shutter speed closeness can not affect the image, resulting in a perfectly composed and sharp image.
A Good Photoshop Software
Is shoe photography done after taking stunning footwear images? No. It’s like it's over but it’s not over. You need to retouch every image to ensure the shoe details are beautifully shown. You can retouch your shoe images with Adobe Photoshop or Gimp software. Both are great for image retouching. There are many tools you can use to fix photography lighting, shoe color, white balance, remove distractions, cropping, formatting, adding effects, and so on to elevate your image quality and impress your audience on the first impression.
Note: Check out this article to know how much photo editing costs in detail - How much photo editing cost.

How to Take Pictures of Shoes - 5 Steps
Footwear photography is fun. You can experiment with different styles and angles to show the beautiful shoe details to your audience. Let’s see the process of highlighting the shoes and standing them out with easy footwear product photography.
Set The Shoe Photography Setting
We have talked about the equipment you need to take pictures of shoes. Now, you need to set them up. Don’t worry, shoe photography setting is simple.
Photography setting according to the light source.
- Natural Light: Set a table beside a well-lit window. Choose a time when the sun is not at its highest like morning. Clip the background papers with an open box or stand. Place the cleaned shoes on the paper. If any props can elevate the details of the shoes, do not hesitate to use them because you can easily remove unwanted elements while photo retouching. Place a reflector to bounce off the light on the shoes and reduce the harsh shadows.
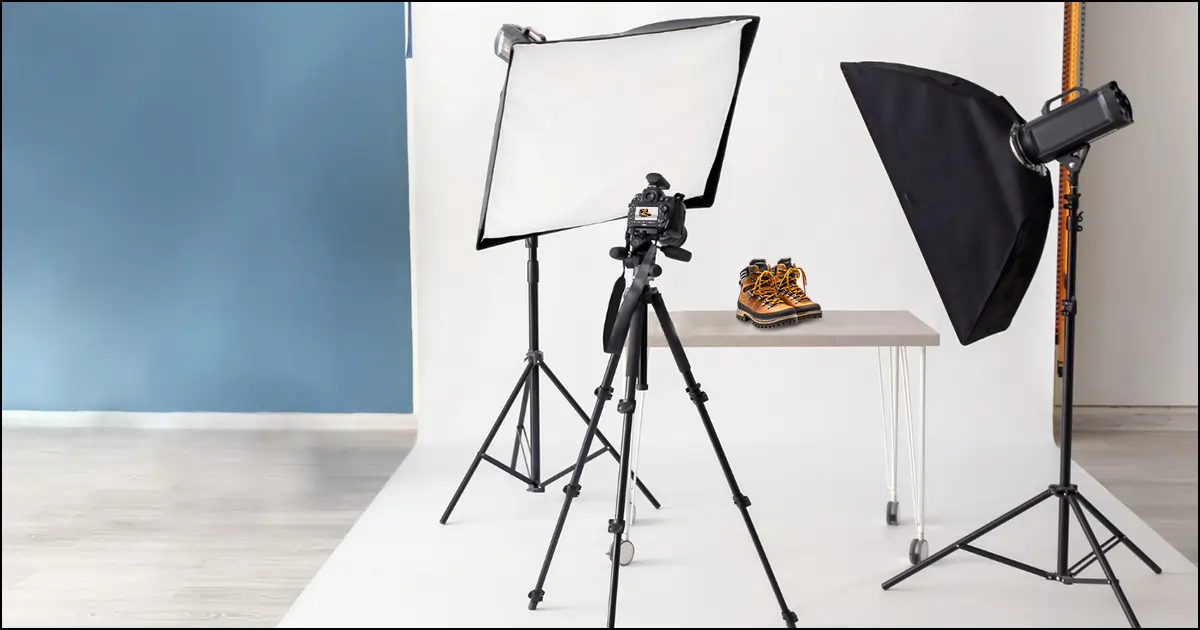
- Artificial Light: Place the softbox on the table. Set your desired background on the softbox. Any background color you choose for shoe photography, ensure it compliments the shoe design and color. Well-lit the softbox with two softlights. Place the cleaned shoes on the softbox ensuring the light is directly falling on the shoes. If the lighting looks too bright, adjust the lighting temperature. Place one or two reflectors behind the shoes to reduce harsh shadows.
Set the Camera Setting
Choosing the right camera settings will make or break your shoe images. This camera setting suggestion is for both studio light and natural light.
- Place the camera on a tripod, focusing on the shoes.
- Set the camera to raw mode to capture small shoe details in depth.
- Choose the manual mode to set the exposure triangle and white balance to your liking and experiment to take the best shoe images.
- ISO: 100-400 to take noiseless and crisp images.
- Aperture: F/11-16 to keep both shoes in focus. If you use a lower aperture like F/8/7/5, you can get detail shots but some parts of the image will be blurry and out of focus. So, keep the aperture a bit higher.
- Shutter Speed: 1/25-30. Use a slower shutter speed to take details in greater depth.
- Choose the accurate white balance from the camera options to ease your work in production.
- Experiment with camera settings to see which number of exposure triangles mingle the best with photography lighting.
Take Your Shoes Images
We are done with the initial footwear photography preparation. It is time to shine your shoes with your creativity. I will tell you four ways of how to pose shoes for selling. Styling your shoes from different angles, beautiful props, ghost mannequins, and models.
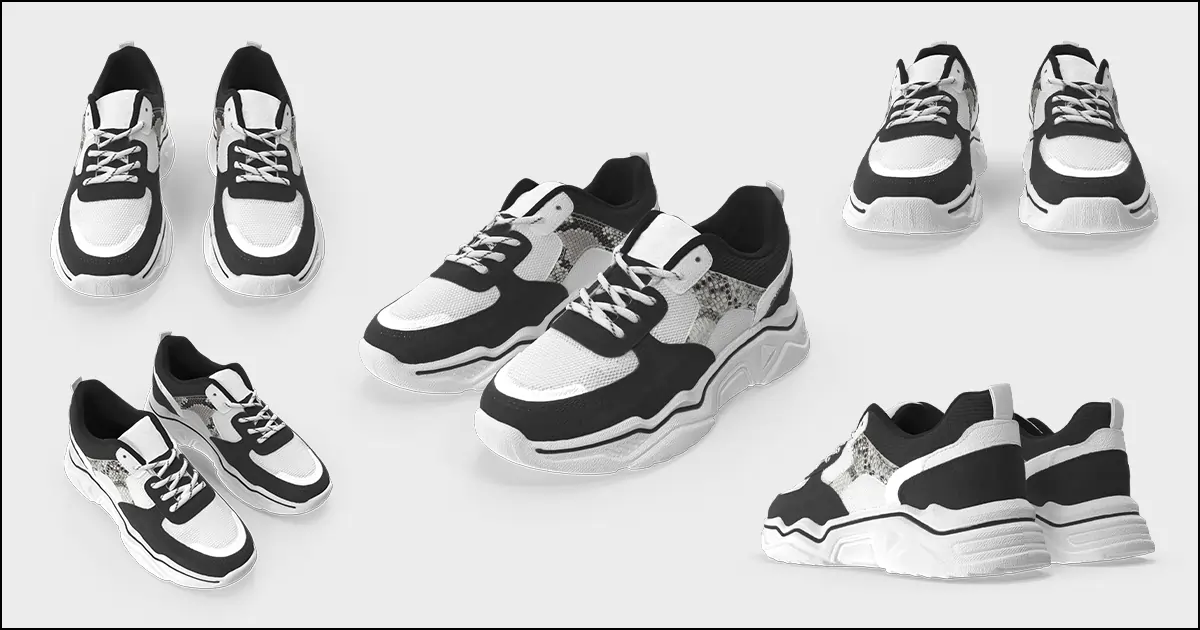
Various Angles
Stuff the crumbled paper or tissue to make it nice and round. Here are a few angles you can try for shoe images. However, ensure it is on a flat surface so that the customer can visualize the outlook.
- Face the shoes to the left. One a bit ahead and one a bit behind. Focus on the pair of shoes, design, and capture the image.
- Face the pair of shoes to the right. The same pattern as before and capture the image.
- Face the shoes to the front side by side and take the image.
- Take a flatlay, ariel shot, or overhead shot to show how the shoes would look like from above.
- Take a floating shot by hooking the fishing wire to the shoes.
- Flip the shoes and keep the soles together to recreate fun childhood memories.
- One shoe over another to show the front and side of the shoes uniquely.
- Take detail shots of the shoes to show their unique features.
- The walking pose. Keep the shoes at a distance like someone is taking steps in them. It provides a realistic vibe like someone is going somewhere.
- Set shoes in opposite directions to show the front and back at the same time. You can do this angle straight or set two shoes left and right on the frame.
- Hang the shoes straight on the wall like often we keep them in our houses.
Beautiful Props
Do shoe images need to be taken on only a simple white background? Can you not use props for footwear photography? Simple shoe photography is preferred to keep the focus on the product. However, you can use nice and cool props to show the purpose of your shoes, highlight the details, and beautify them.
Experimenting with new ideas and props always brings good results. And if the props distract you from the main product, remove them in post-production. You can even remove the whole background and easily edit your shoes into a new one. So, do not worry about bad-quality footwear images and experiment with new props to stand out from the competition.
Ghost Mannequin
Using the ghost mannequin effect, create a realistic look to the pair of shoes and make your target audience visualize how they would look in the shoes. You can find different size ghost mannequin feet in the market and use them for a long time. Thus, investing in ghost mannequin feet will not be a loss. However, you need to remove the mannequin feet in post-production so that the audience can feel that someone is wearing them. It also provides a nice and round look to the footwear.
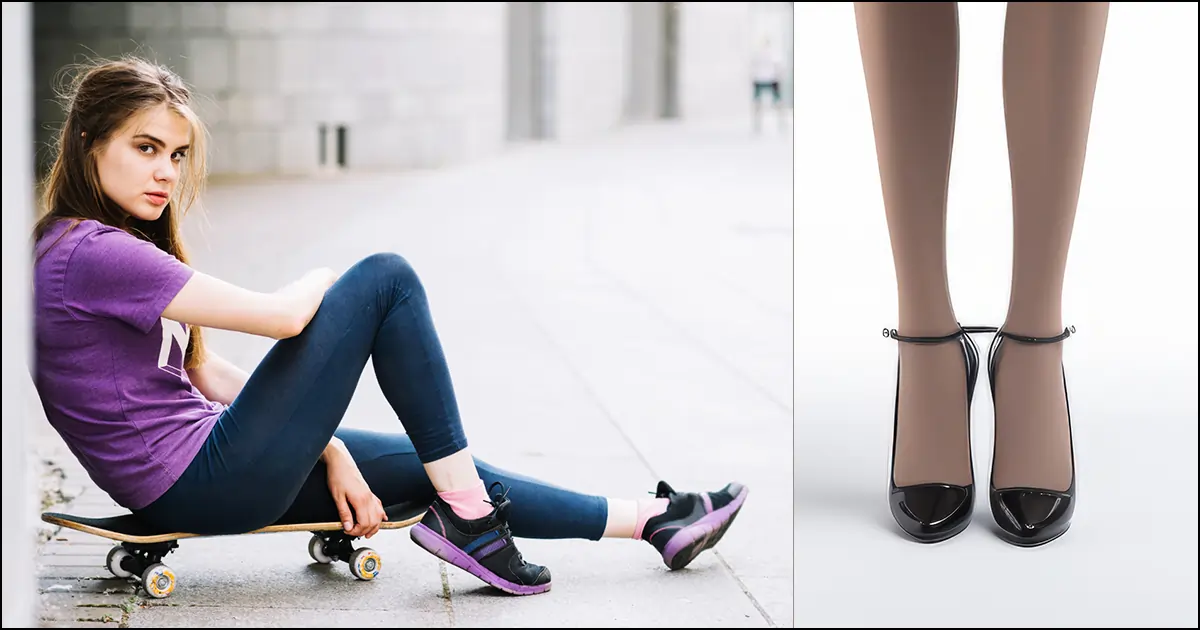
Models
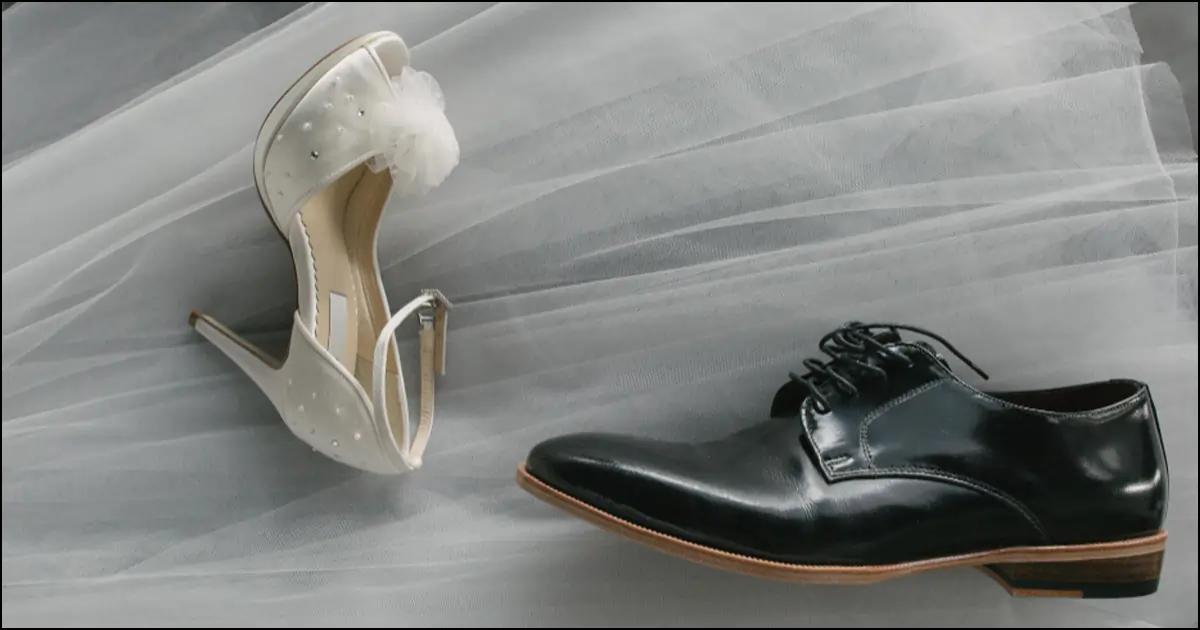
You can do lifestyle shoe photography with models. It is a great way to show the shoe's purpose, design, and outlook to the target audience. For example, if you sell shoes that are specially made for hiking, do the shoe photography in a hiking spot like a hiker walking toward the roads, going on a beautiful journey, and so on.
Again, if you sell shoes for a party, create a party setting, make the model wear clothes that compliment the shoes, and take cool and fun product images focused on the shoes.
However, whether you do the shoe photography indoors or outdoors, ensure the images are distraction-free and keep the audience focused on the shoes and highlighting them. Ensure the shoe images tell the journey of the wearer.
Take Shoe Images from All Angles
Is one product image enough to showcase the footwear? No. Whether you post it on social media platforms or your brand website, you need to take at least 4-6 shoe images from all angles.
Another reason is since the customers are not visiting the physical store to see the shoes in person, you need to show all sides of the shoes to convince customers about your shoe quality. Thus, the more details you can provide to your audience, the more impressed they will be, and the more sales and revenue you can make.

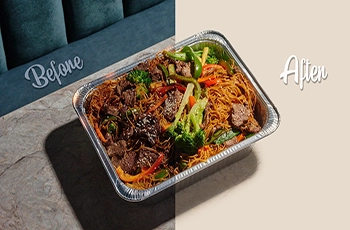
Elevate Shoe Images in Post-production
After taking shoe product photos to your heart's content, you need to retouch them to remove every flaw and provide a unique touch representing your brand.
- Dust and Dirt: Though you have cleaned the shoes before, some dirt or dust may get into the image while photographing. Zoom in on Photoshop, check it, and remove the dust and dirt.
- Correct Lighting: Due to the light source and camera setting, the lighting may get too light or too dark, fix it in Photoshop and provide its natural lighting.
- Correct Shoe Color: If the footwear image colors do not look realistic to the product, fix it. The customer should feel they got the shoes they saw on the website.
- Correct Blurness: Due to low aperture, if the background or surrounding becomes blurry, fix it. You can also do it vise versa. If the image quality increases after blurring the surroundings, apply it.
- Remove Mannequin Feet: It is super easy to remove mannequin feet in Photoshop. Remove it and provide a realistic and high-quality look to your shoes.
- Remove Distractions: If the props look distracting or viewers may have a hard time understanding which one is the product, remove the props and keep only the pair of shoes.
- Soften the Shadows: If the shadows look harsh and long, edit them till they become soft and real. Harsh shadows decrease the image quality.
- Crop the Image: If your shoe image has too much negative space or unwanted objects on the side, crop it. Also, every social media platform and website has different image size preferences. Thus, you need to crop footwear images according to publishing platforms.
- Format The Images: Save the image format according to the publishing platform acceptance like JPG, PNG, TIFF, JPEG, and so on.
- Check the Final Image: Zoom out to see if the edits look good. If you like the final image, save it.
Summing Up
Was our how to take pictures of shoes article helpful? Shoe photography may be tricky and some blend shoe images can come out for the first time. However, researching and experimenting with camera settings, props, backgrounds, outdoors, and so on will help you get better at taking shoe images.
Also, while researching competitors, notice what the audiences like, take ideas, and take shoe images in your style to show the brand's purpose. Think about what you like when you purchase shoes online. Think from the customers' view and trust me your shoe brand will grow in no time.
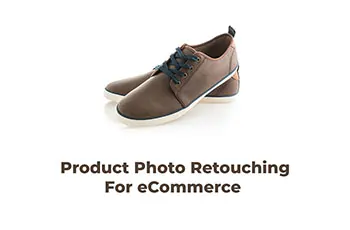
Lastly, if you are busy taking shoe images and do not have time to retouch them, take our product photo retouching services. We are efficient in dealing with large or small projects within a deadline. Our retouched images are flawless and delivered after a QC. You can contact us 24/7 for any query and see the project progress from our easy-to-handle portal. Visit our website and send us a free trial to judge our retouching quality yourself. If you like the results, let’s make a deal!